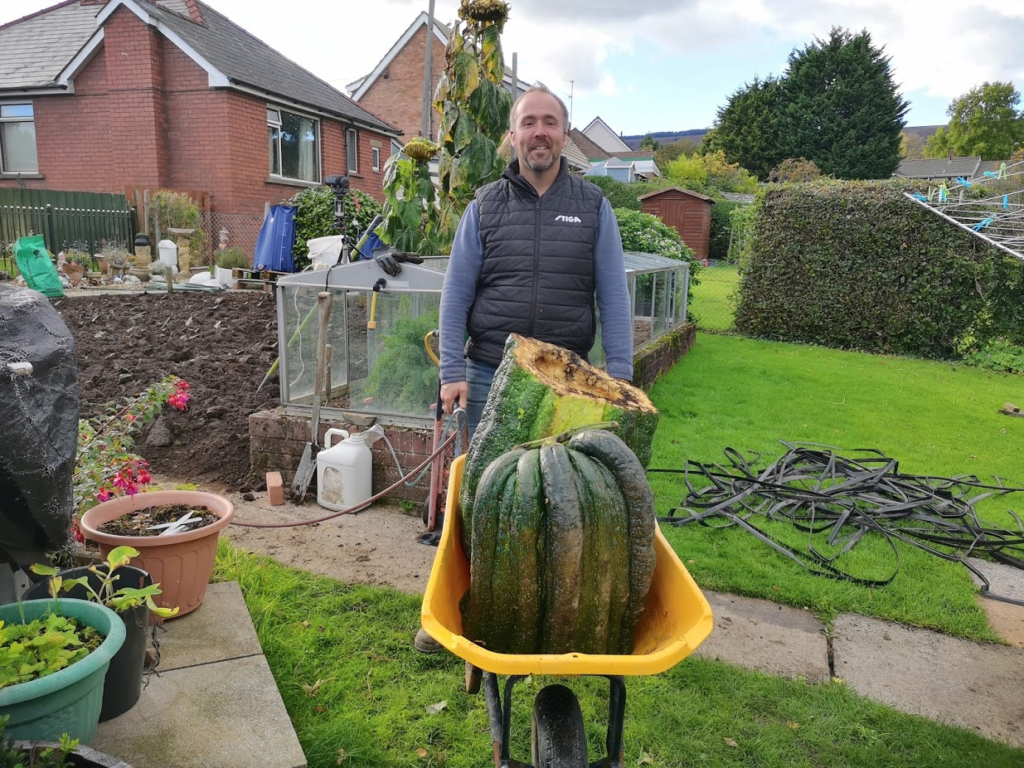
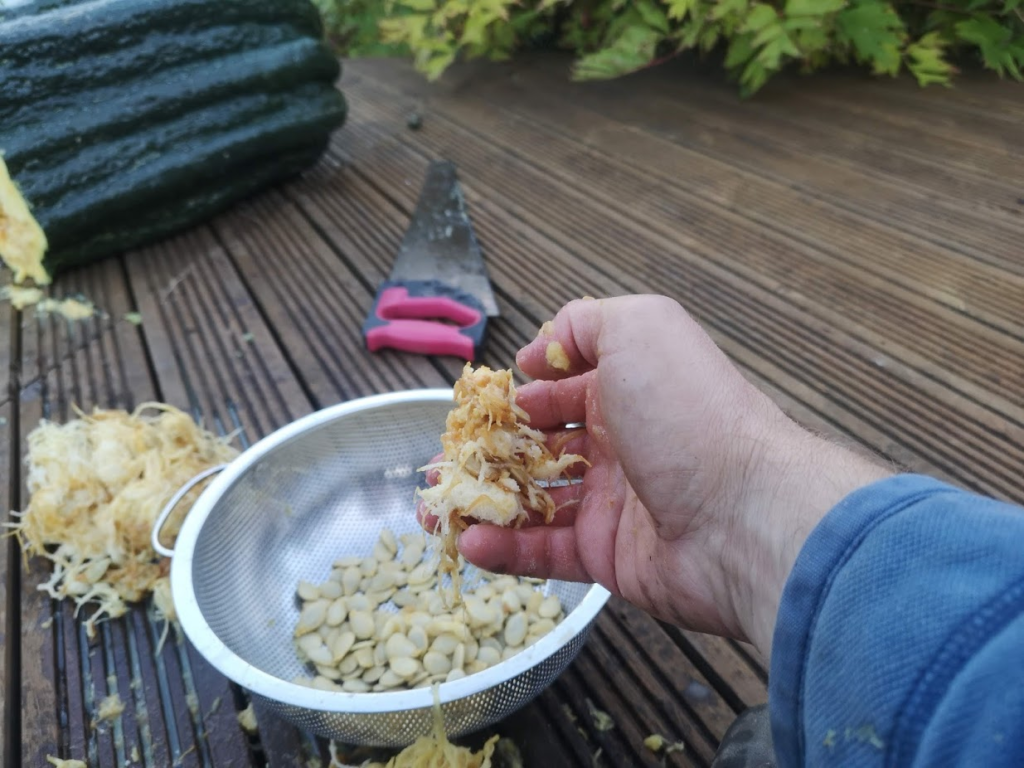
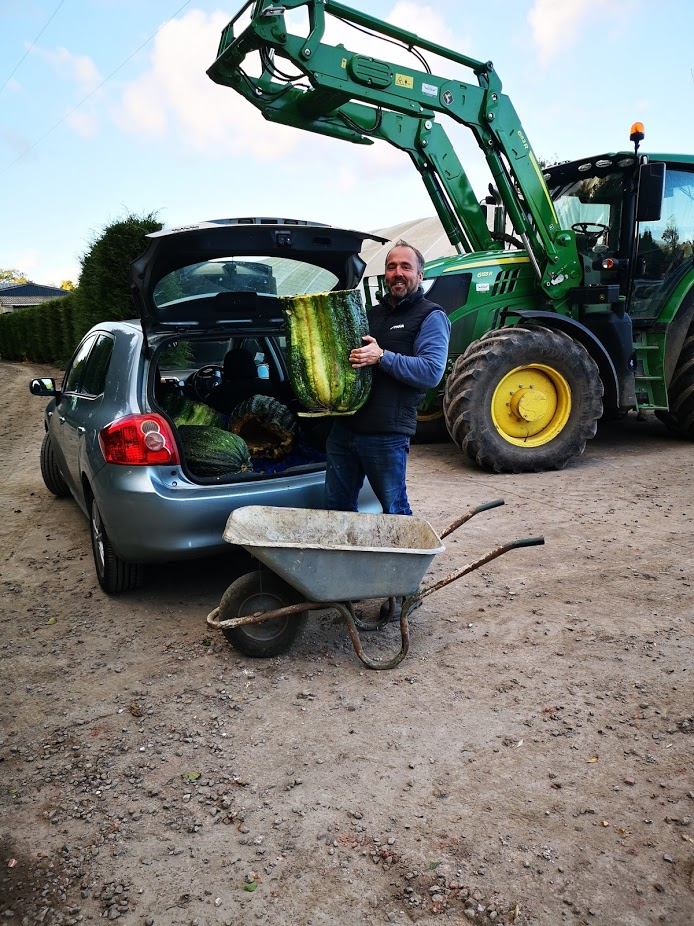
We have grown some of the Heaviest marrows ever and have come close to the World Record which currently stands at just over 206 pounds in weight. The seed originated from our Dad and we have developed the seed line over a number of generations.
Below is a guide on how we grow them….
The preparation of the growing areas starts off in the Winter Months. At the beginning of October, we will send away our soil to be analysed. During this time, we will also broadcast green manures when the soil is warm enough for the seed to start to grow.
What area do you need to grow a Giant Marrow?
Typically, we will grow one marrow in an area measuring 6 metres x 4 metres. This provides sufficient space to develop a robust plant to enable it to produce a super-sized fruit.
Green manure
The ideal soil is free draining in a sheltered area of your garden/allotment. Preparation starts in late September, early October with the sowing of green manures. We use molasses and mycorrgiantveg as an inoculant prior to broadcasting the seed on the soil. There are many species of Green Manures but we use nitrogen fixers, Winter Field Beans and Hairy Vetch. Both species will produce rich organic nitrogen. This is because legumes have the ability to take nitrogen from the air and store it in little white nodules on their root system.
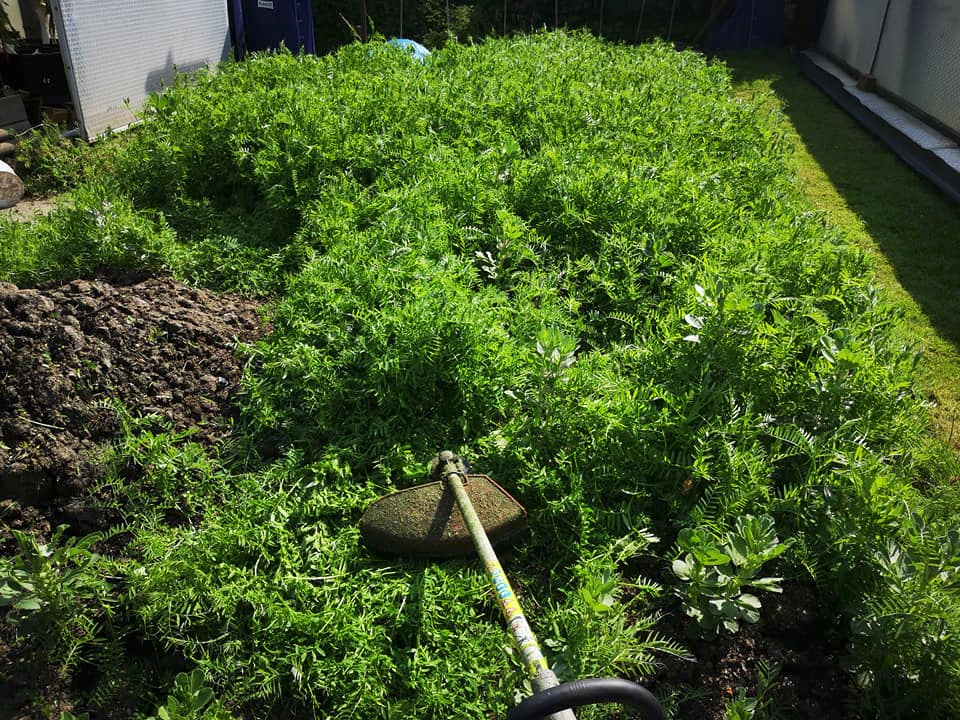
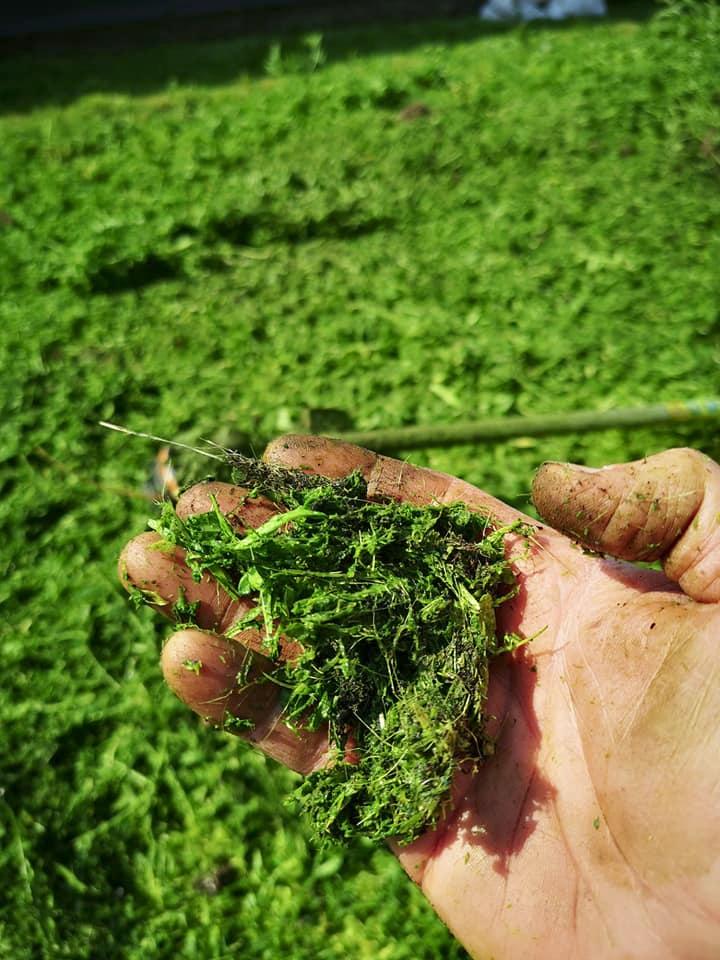
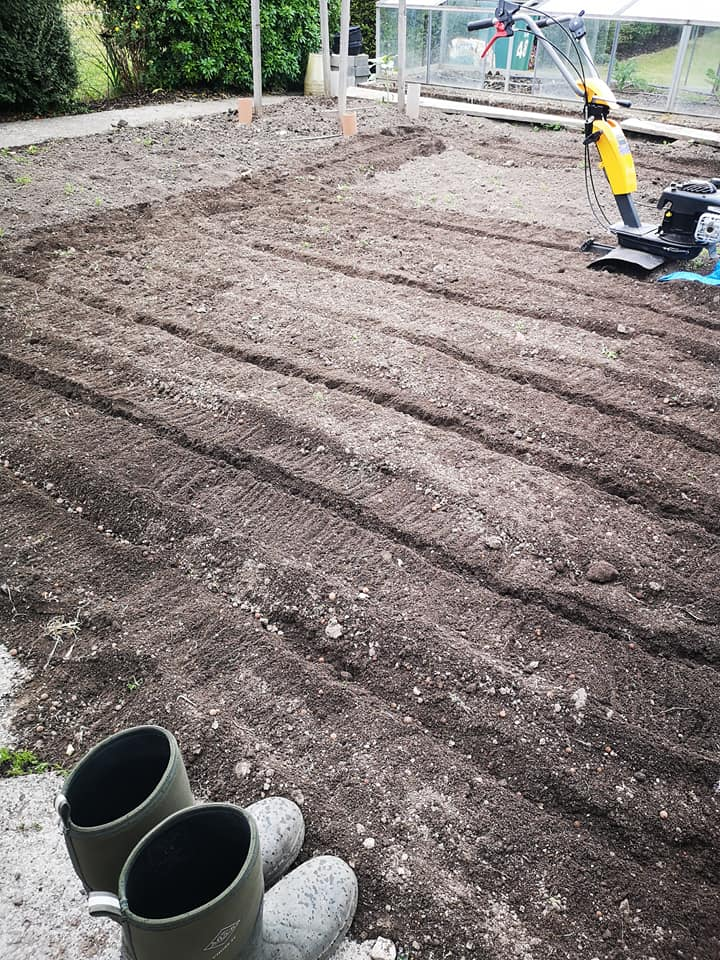
The green manures grow until March/April the following year where they are harvested. The Green manure provides structure to the soil and helps to prevent compaction and erosion of soil. In March/April the green manures will be established and during this time, prior to flowering, ideally, you should strim the green manures to a pulp, leave for 24 hours on the ground and then rotovate into the soil. We use our Stiga rotovator to make light work of this task. The green manure provides rich organic matter and absorbs excess salts from the soil.
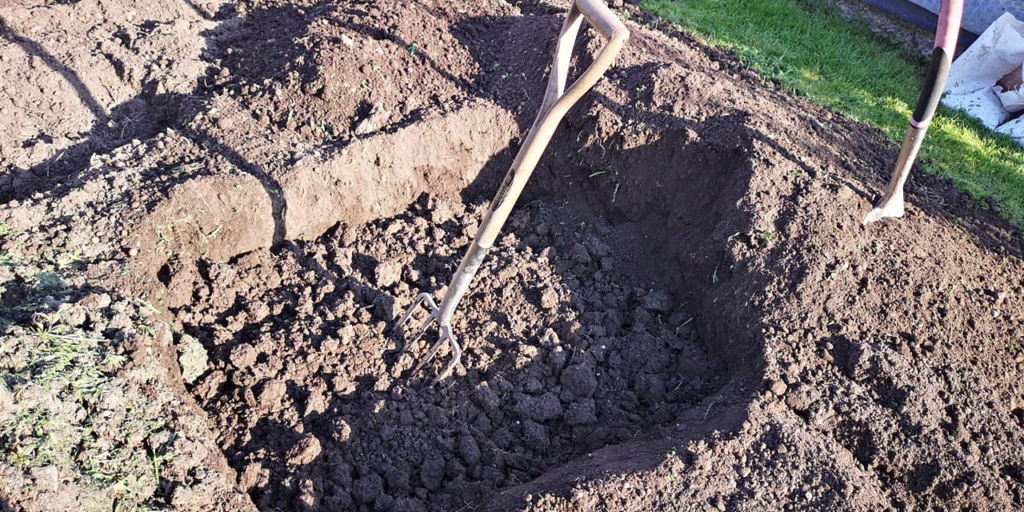
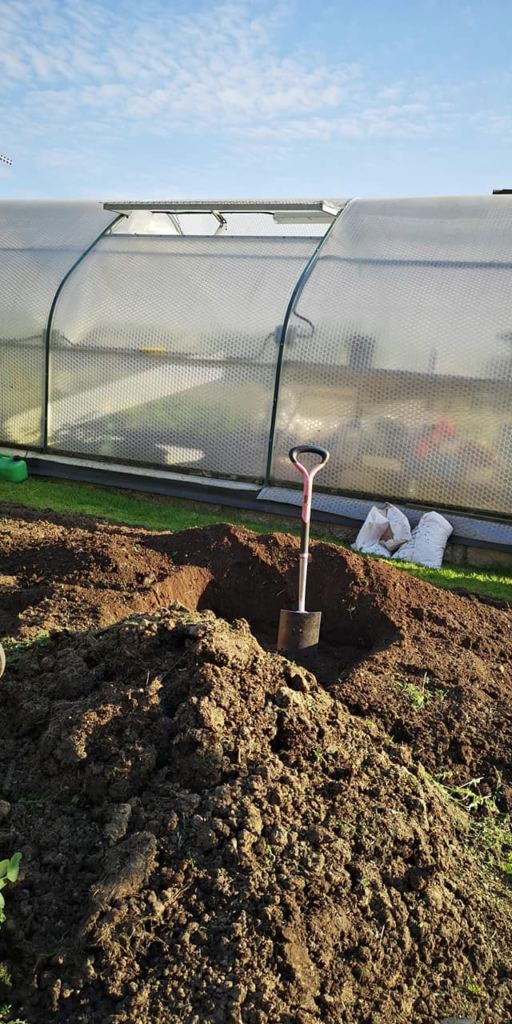
Marrow Pit Preparation
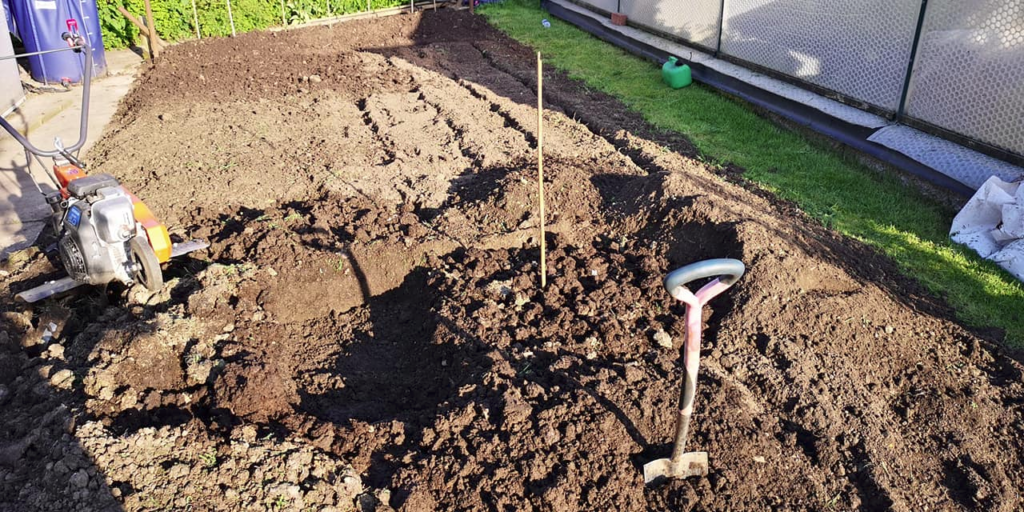
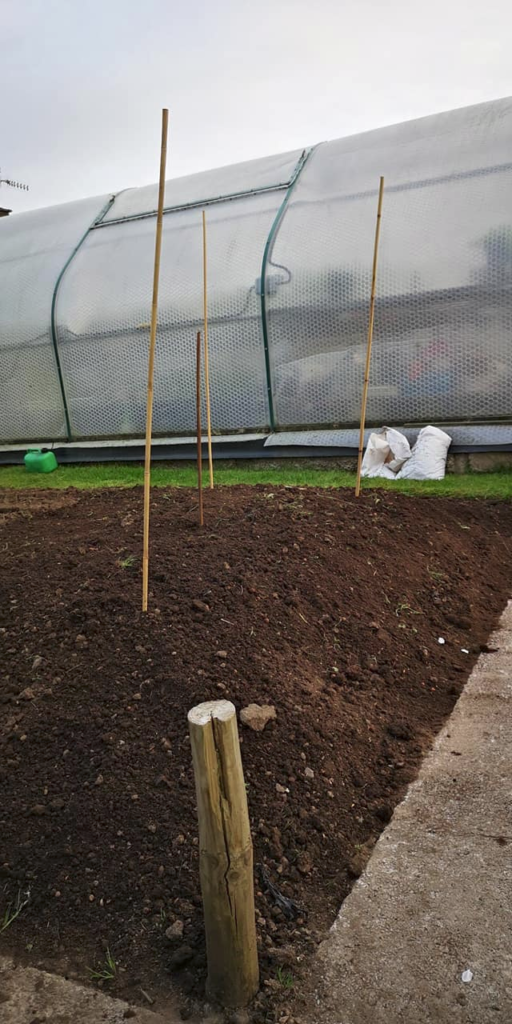
The green manure is rotovated into the soil and the pits are then prepared. These pits provide an area for depth, for roots, nourishment for plants and also drainage for the plants.
In the pit we will add around 8 barrels of well-rotted cow manure. The PH for growing marrows needs to be around 6.4 to 6.6. We use a laboratory to provide us with a scientific soil analysis prior to planting out the marrows.
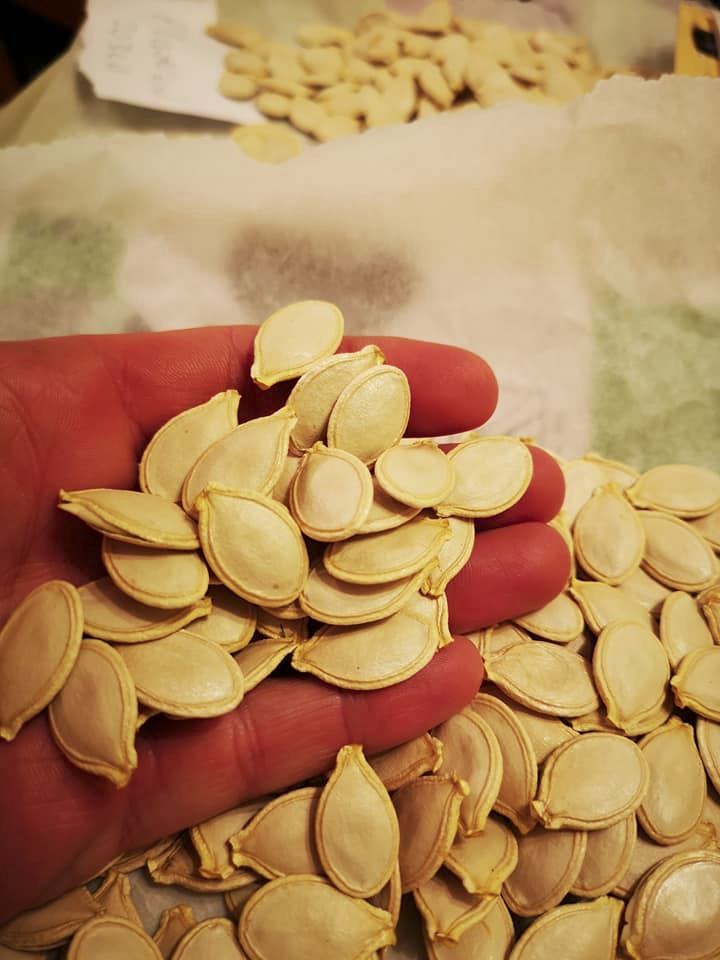
During April we will start to decide which genetic of marrow we will be growing. The marrow seeds that we have developed cannot be found in a garden centre. They are only available through our website www.giantvegseeds.com It is important to hand pollinate marrows each year to ensure that you can keep a consistent genetic line for future generations.
Sowing Time
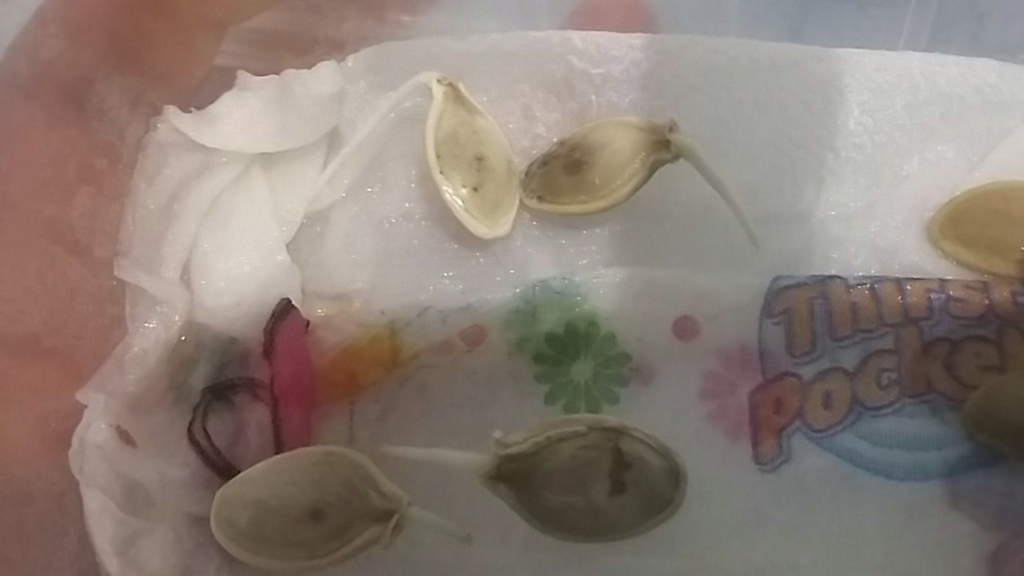
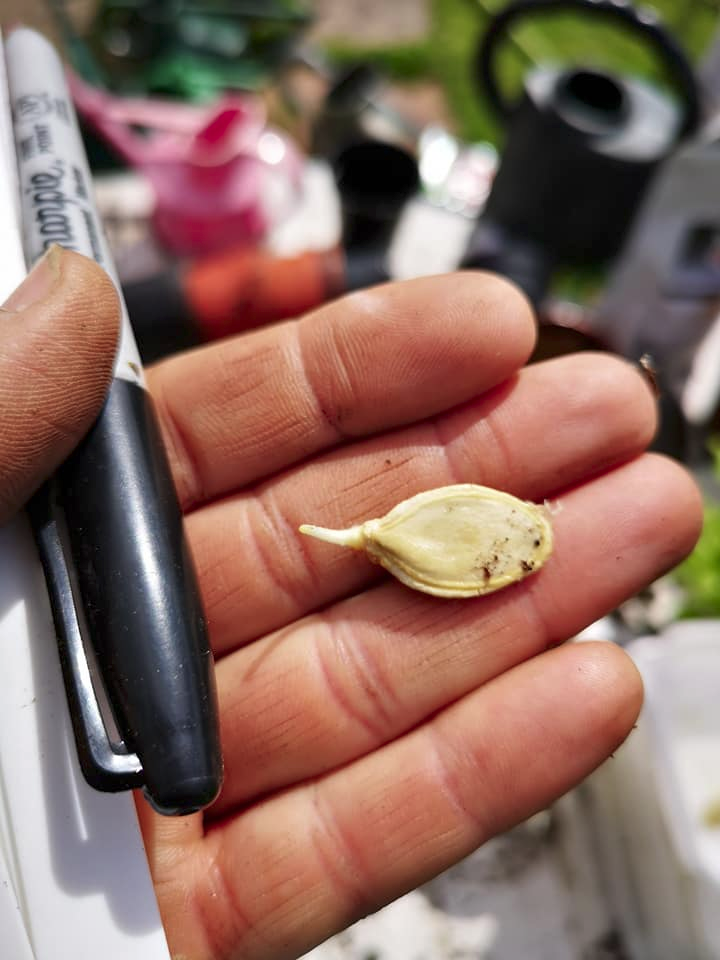
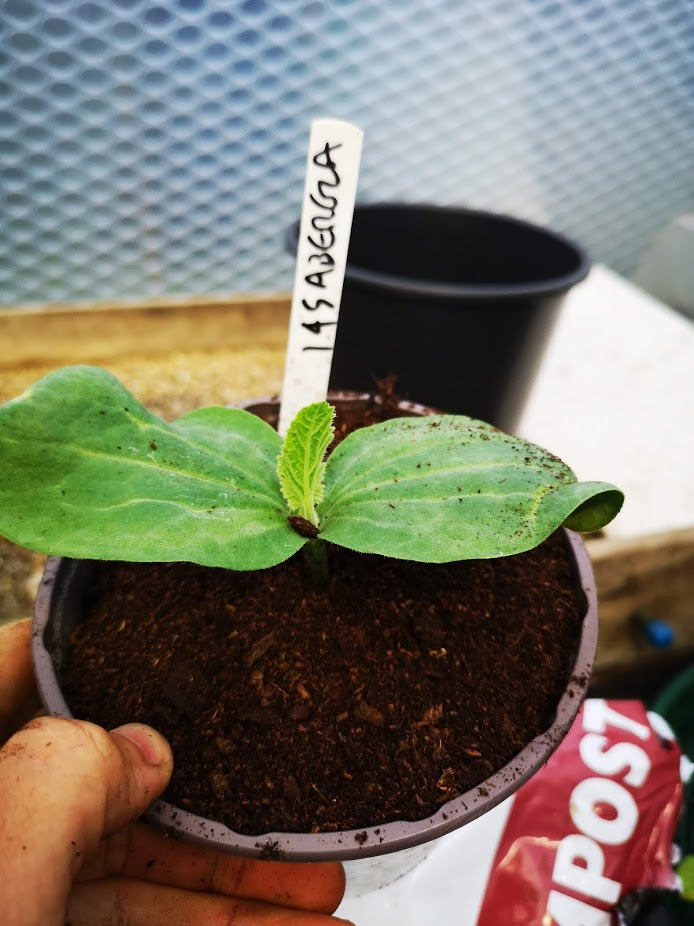
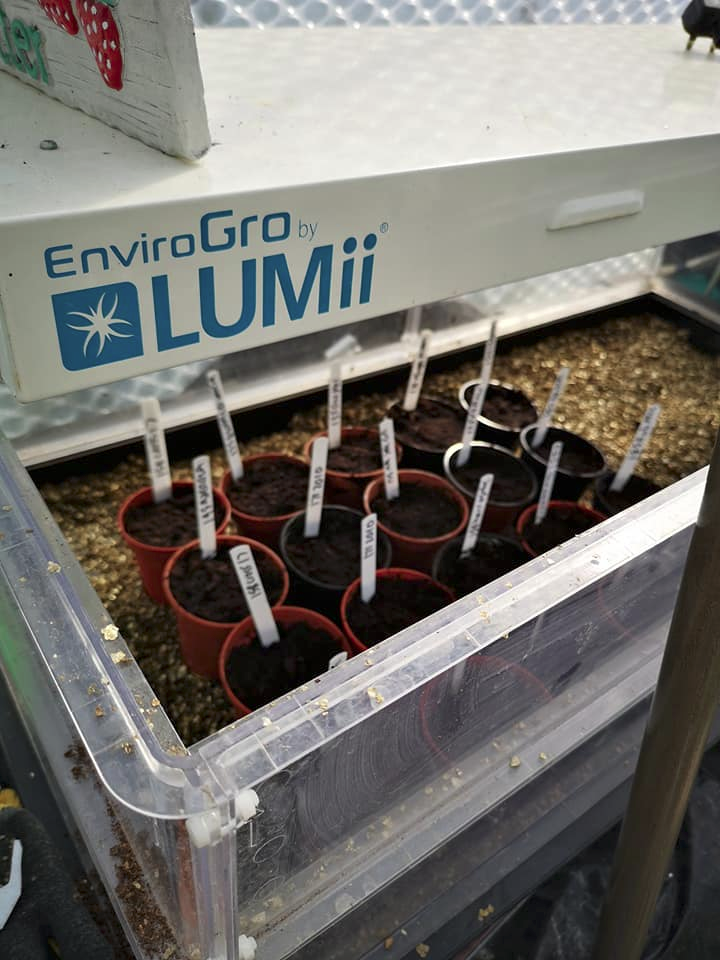
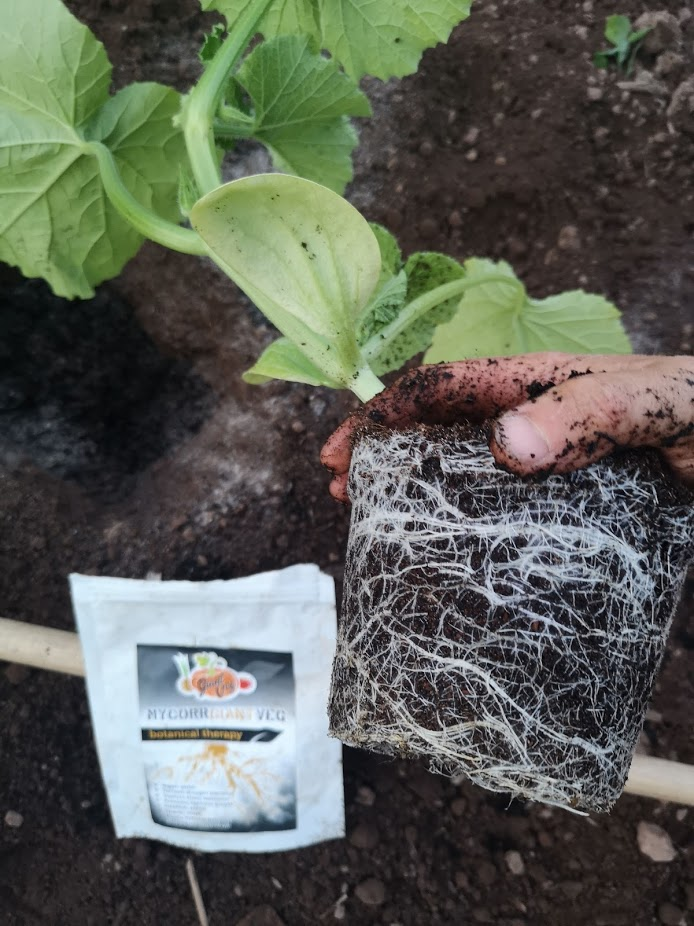
Depending on where you are in the UK or in the World, it is important to learn when to sow the seeds to avoid a marrow coming too soon. We typically chit our seed in mid-May. Some will grow earlier than this. Chitting is simply using a kitchen towel in a recycled container, sealing it and placing inside a consistently warm environment. We will add mycorrgiantveg around the seed. The seed will start to show a white tap root within 3-5 days. As soon as you see the white tap root emerge, transplant into a small pot with a sprinkling of mycorrgiantveg. This contains both Endo and Ecto mycorrhizae which will help to create a mass root structure and allow the plants to absorb more nutrients and be stronger more resilient plants.
We will add mycorrgiantveg around the seed. The seed will start to show a white tap root within 3-5 days. As soon as you see the white tap root emerge, transplant into a small pot with a sprinkling of mycorrgiantveg. This contains both Endo and Ecto mycorrhizae which will help to create a mass root structure and allow the plants to absorb more nutrients and be stronger more resilient plants.
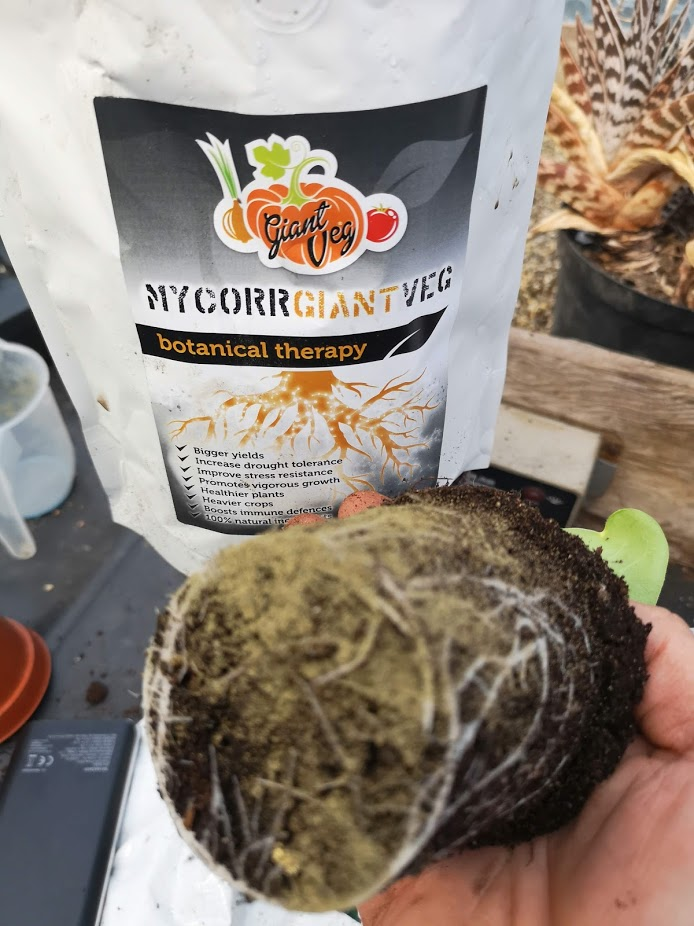
The marrows will be potted up around 3 times prior to planting into the ground in mid-May/June. On each potting on we will add further mycorrgiantveg.
Planting the Marrows into the Ground
The pit is prepared, and the soil test results are returned. The ground is then amended with essential trace elements. The area the marrow will be growing in will be sheltered by net. This is to prevent the young plant from being ripped about prior to establishing its root structure in the soil.
The marrow plants will be hardened off from the greenhouse over a 2-week period prior to planting into the soil. When planting the plant into the soil, we will mix Dalefoot’s Sheepswool Compost around the planting hole together with blood fish and bone and Vitax Q4. The plant will be dusted again with mycorrgiantveg and watered in with Giant Veg Instant Compost Tea.
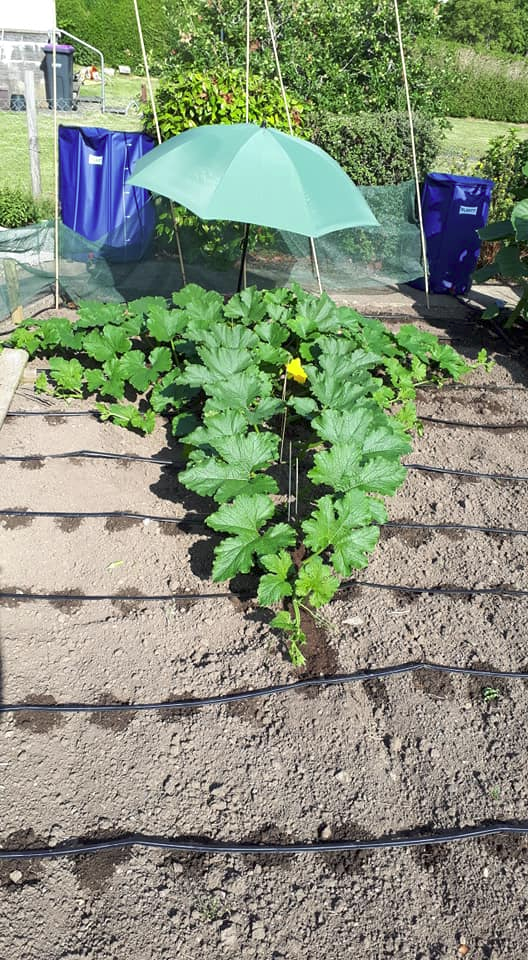
Marrow in its Leaf Growth Stage
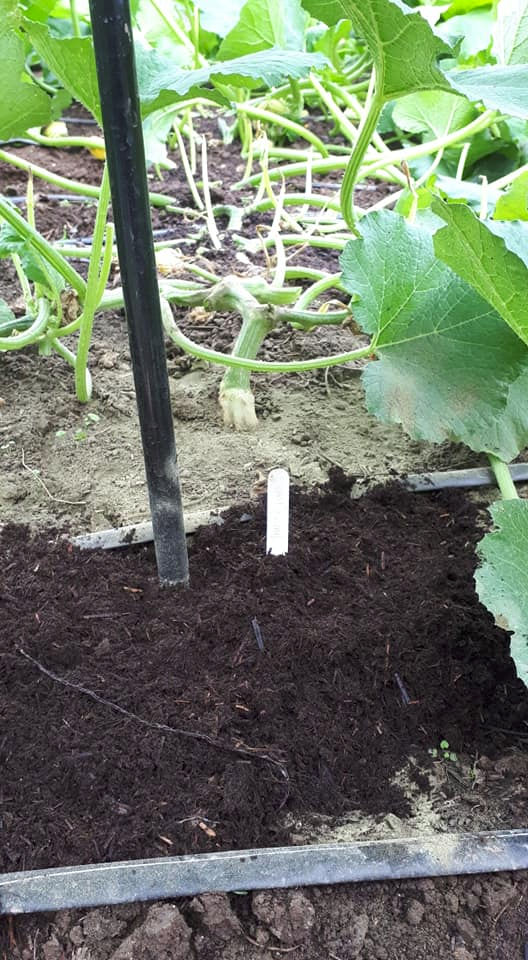
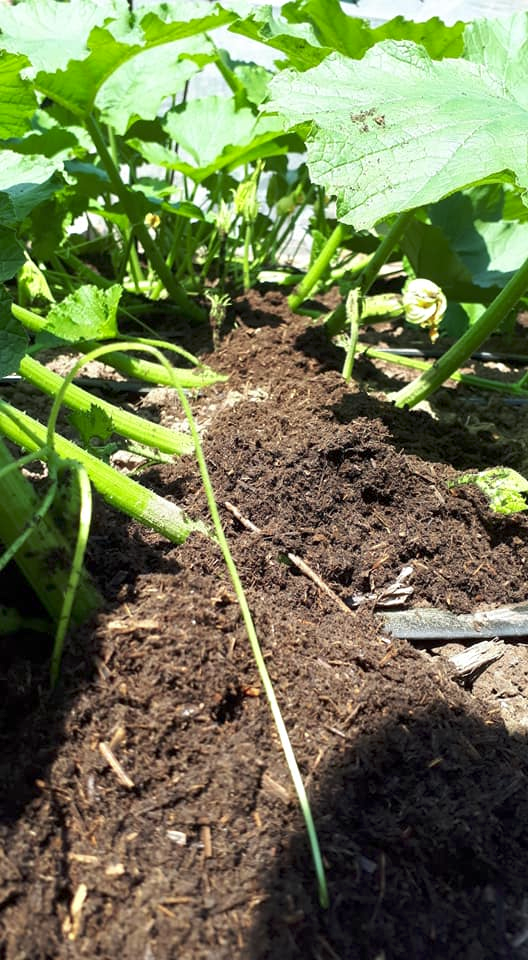
The marrow is a trailing variety and as such, it will trail along the surface of the soil. In order to prevent stem split, we create a channel in the soil for the main vine to grow into. This will have a bed of sheepswool compost mixed with mycorrgiantveg. We use stainless steel pegs to anchor the vine into the ground.
Each leaf will produce a root and each leaf will be buried. This provides stability for the plant and a helpful supply of nutrient for the fruit. Our philosophy is more roots, bigger fruits. The plants will keep growing and produce secondaries. Some people cut off all of these and grow on one main vine. We grow the plants like a Christmas Tree shape. It is important to thin out excess secondaries as this will provide airflow for plants and help with the prevention of mildew on the leaves which will reduce the plants ability to photosynthesise.
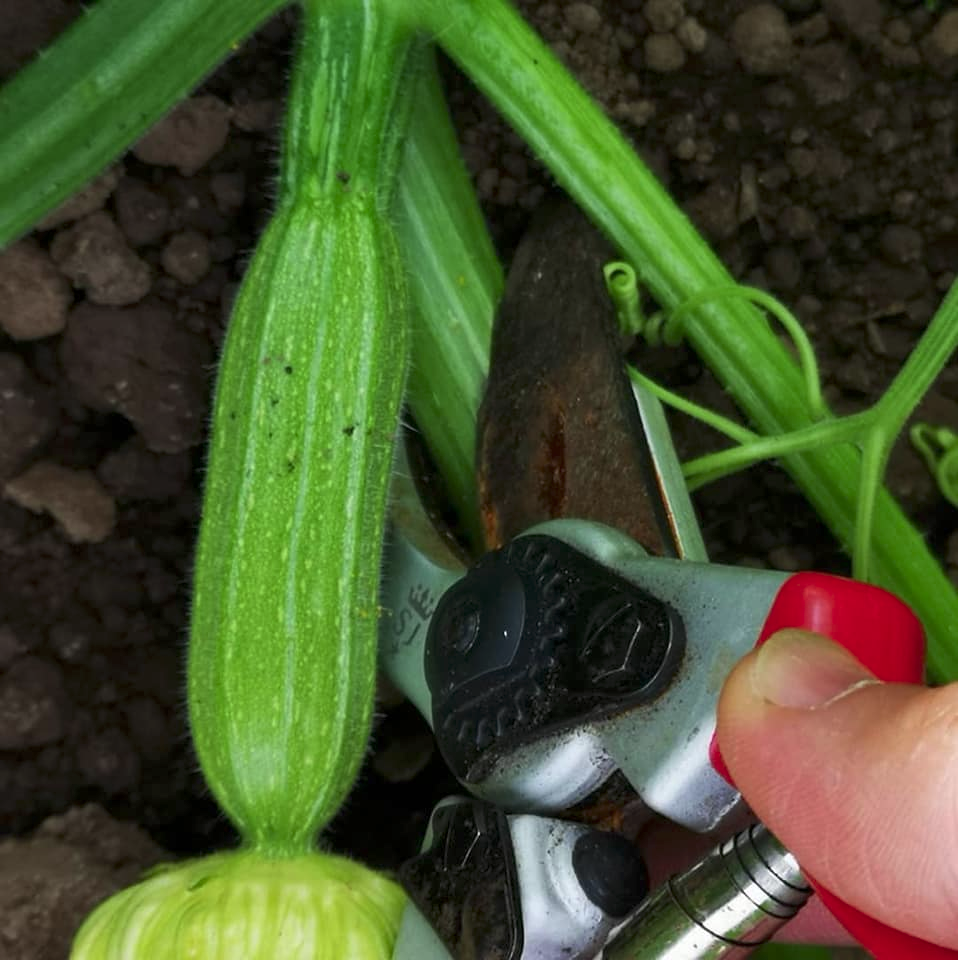
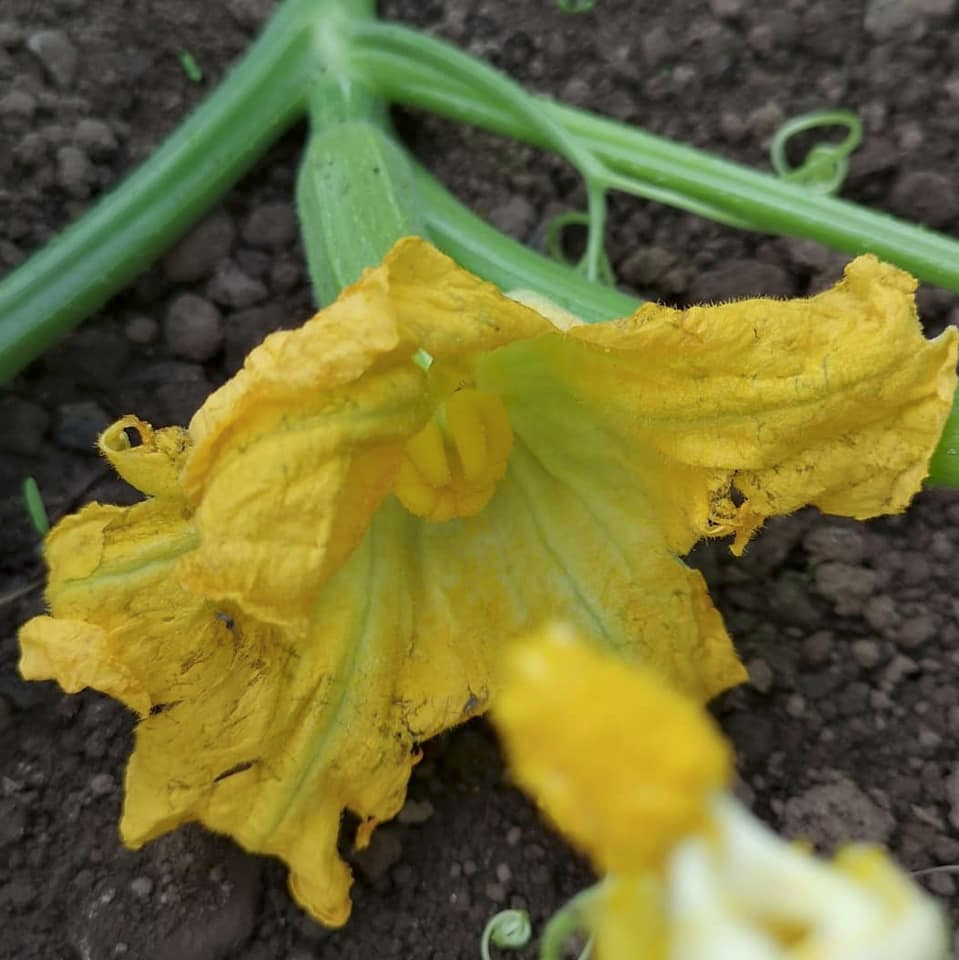
Identifying the Fruit (Marrow)
Many people ask, how can you tell what the marrow is? The difference between the Male and Female flowers is illustrated in the picture below. The female flower contains the fruit behind the bloom.
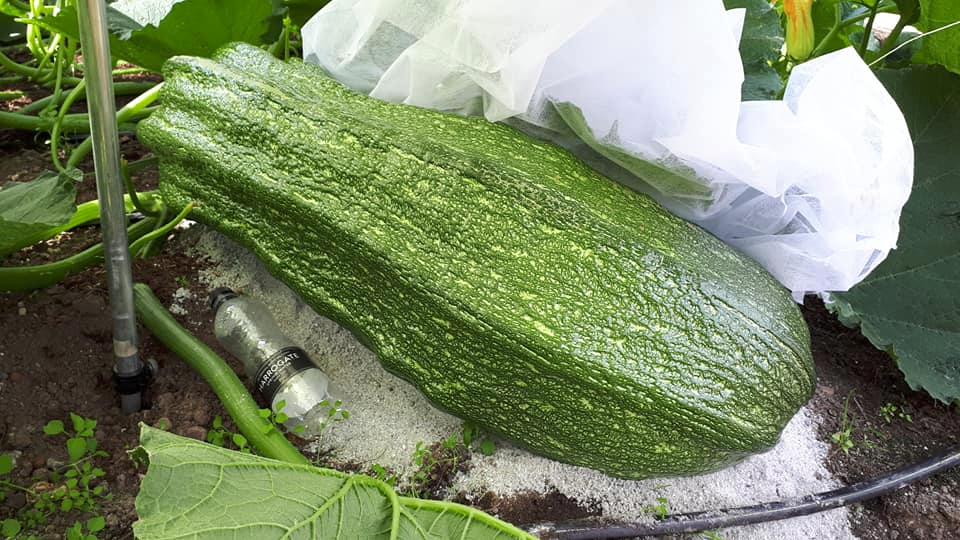
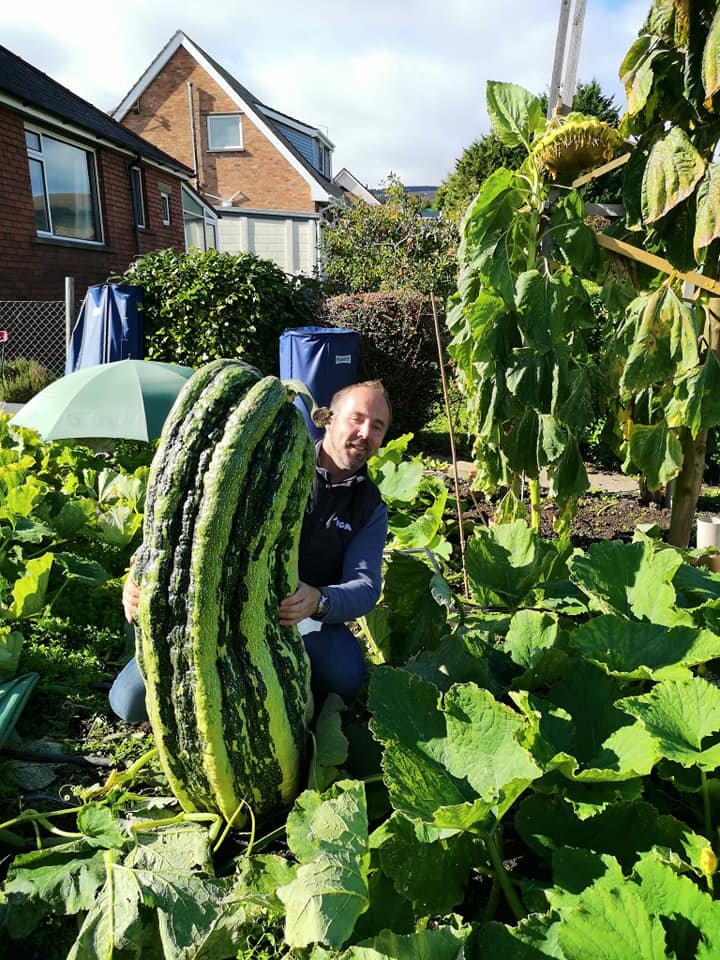
We always look for the longest shaped marrows. These will generally grow the heaviest. The marrow will be pollinated at least 3 metres from the planting hole, on the main vine. As soon as you have identified the marrow that you want to target, it will need to be hand pollinated. A marrow will grow for around 7-8 weeks from initial pollination to harvest.
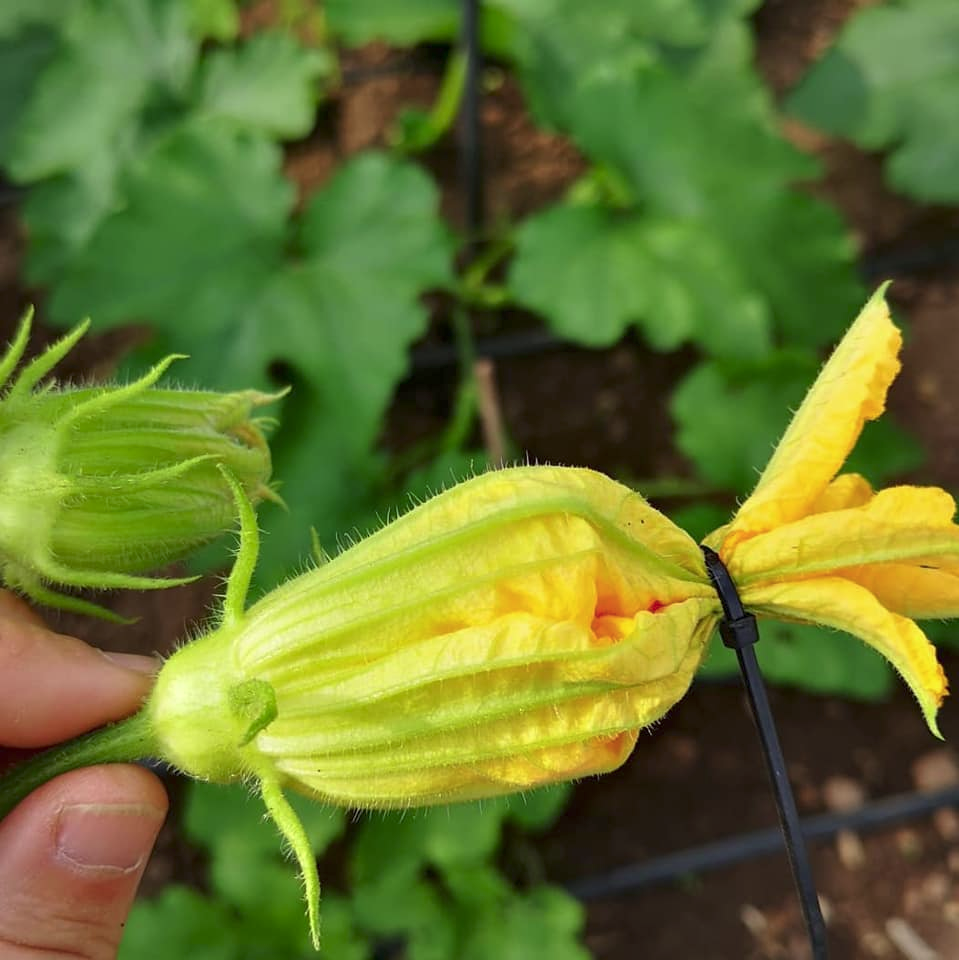
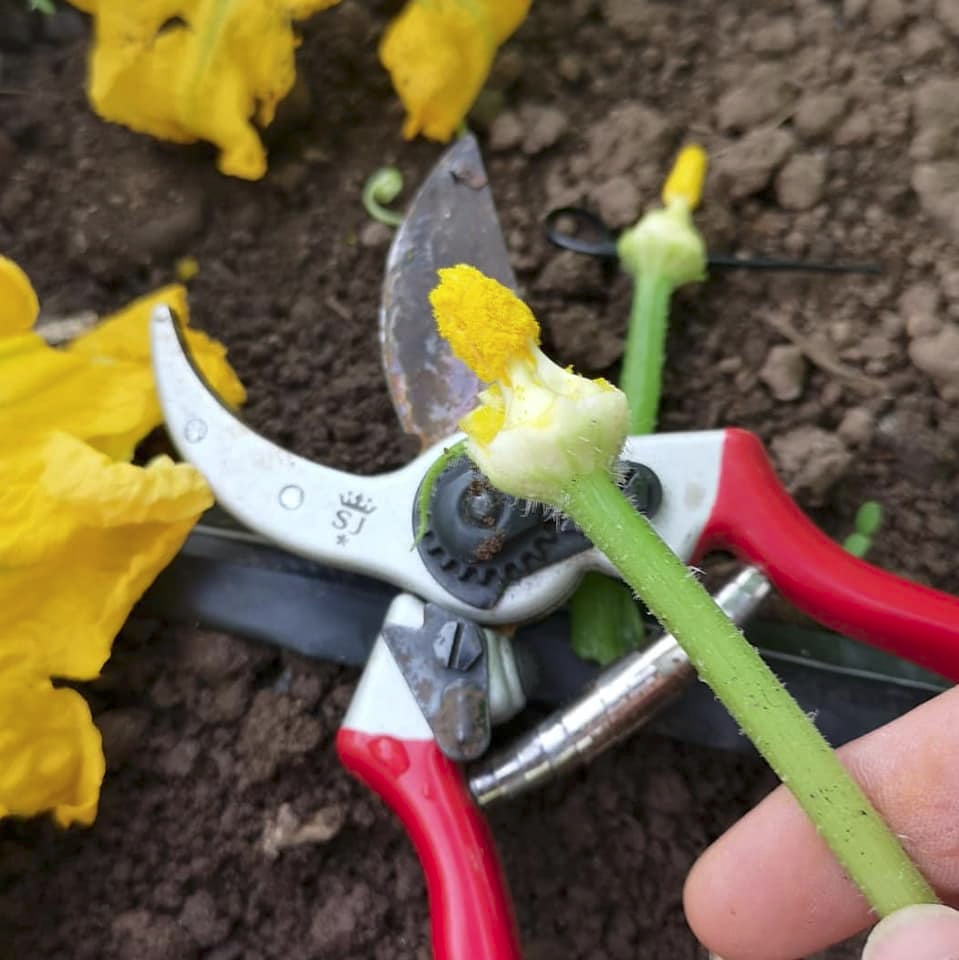
Hand pollination
Both the Female and Male Flowers will be tied up with string/cable tie the night before the pollination takes place. This is to prevent pollinating insects from contaminating the pollen and also the potential for cross pollination.
We will tie a number of male flowers from different genetics. The petals on the male flower are used to insert into the female very early in the morning. Typically, around 6am before the bees are active. The stamen section at this time will be laden with pollen. If it is scheduled to rain, cover all flowers with an umbrella if possible. The male stamen will then be used to pollinate the female Pistil. At this stage, the female flower will be retied and covered with a waterproof bag to ensure that the pollen has the maximum chance of success. This also prevents the potential for cross pollination. We will only grow one marrow per plant.
Underneath the marrow we will add a bed of horticultural sand. This is to allow the marrow to glide across the surface of the growing area, uninterrupted. As the giant marrow further develops, it will be important to keep the plant, consistently watered and nourished for the next 6-8 weeks.
Feeding the Marrow
If the soil has the right mix of micro and macro nutrients the plant will need a small amount of Vitax Q4 as a general feed. The pelleted form is the best as they offer a slower release feed into the roots. This helps to prevent the marrow from splitting with a large uptake of nutrient. We will foliar feed with seaweed and SB plant invigorator. This helps to create a stronger cell structure in the leaves and provide a healthier plant making the plant less susceptible from having mildew. We will also add a few handfuls of chicken pellets each week to the plants. This provides a steady supply of nitrogen to the plants.
It is important to remove any side shoots regularly and maintain the shape of the plant as well as keeping an eye out for any self-pollinated fruits. These will take energy away from your potential prize-winner.
As the marrow continues to grow, we keep adding horticultural sand. Some people will use insulation boards for the marrow to rest on. We find that these boards speed up the ripening of the fruit. The purpose of this is to provide a consistent temperature for the base of the fruits.
Irrigation
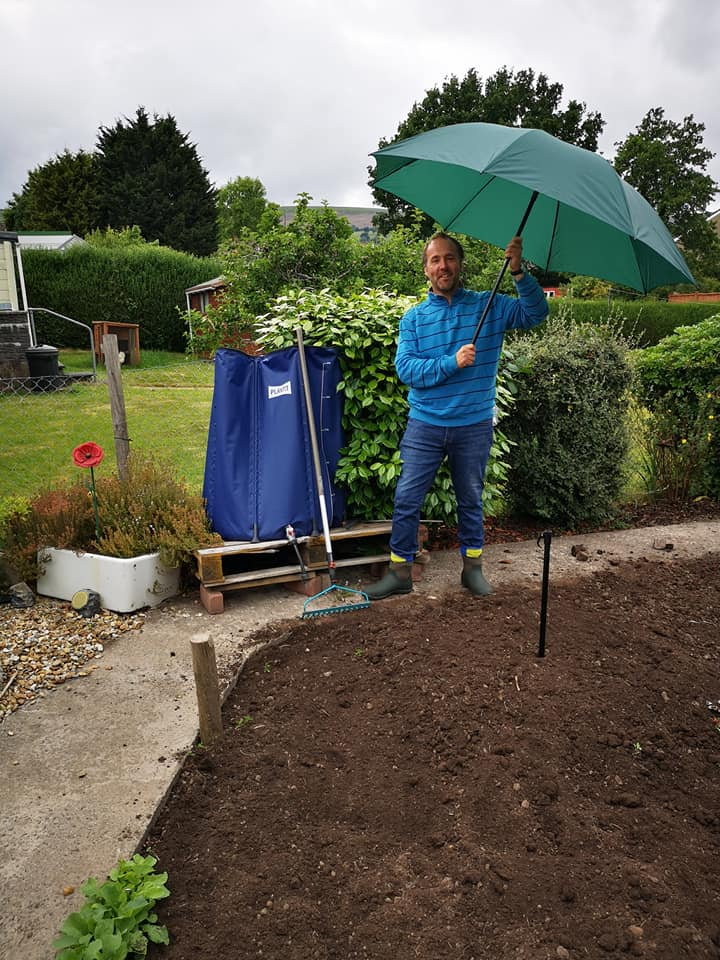
On average, the plants will use around 20 litres of water a day. We use a 450-litre reservoir which is connected to a battery-operated timer and linked to trickle irrigation.
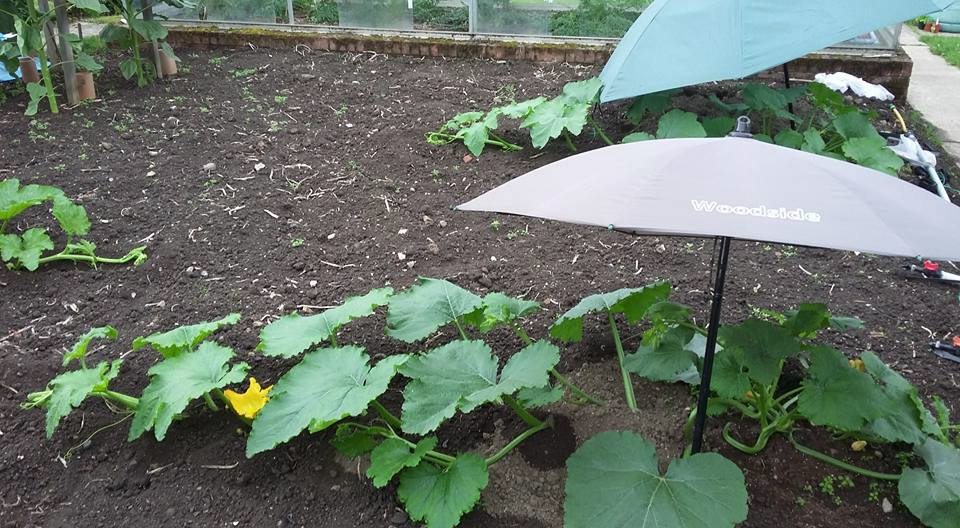
Marrow Comforts
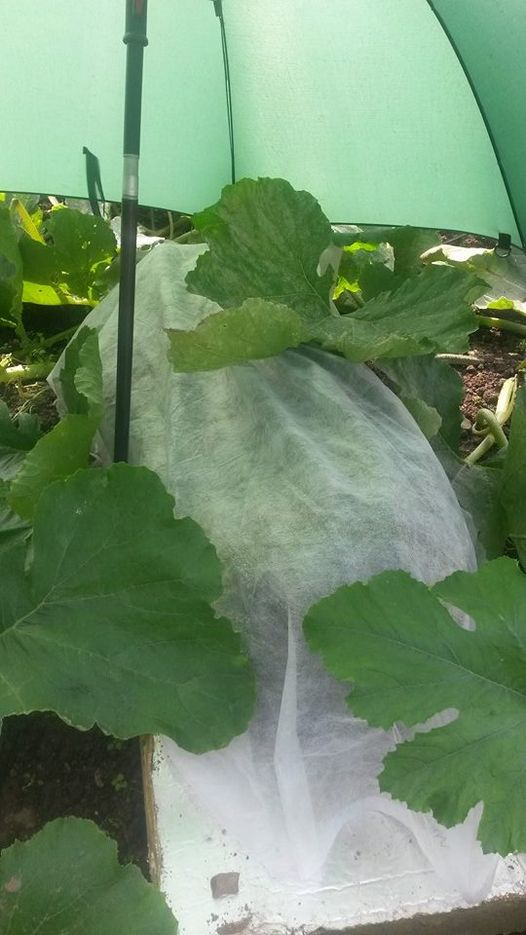
The marrow is provided with a fishing umbrella to help prevent the sun from ripening the fruits. Towards the start of the season, we will cover with horticultural fleece. This keeps an even temperature for the fruits.
Towards the latter part of the season, the marrows are indeed tucked up with duvets to keep them snug and allow them to continue to grow.
Always ensure that you reduce the weed growth as weeds compete for nutrients and also help to transmit pests and diseases.
Monitoring Growth
There is a marrow chart that is used to provide an estimate for the weight. It is important to keep checking the marrow for continued growth and also for stem splits and splits to the main fruit as this will allow moisture to go inside the fruit and it will ultimately rot.
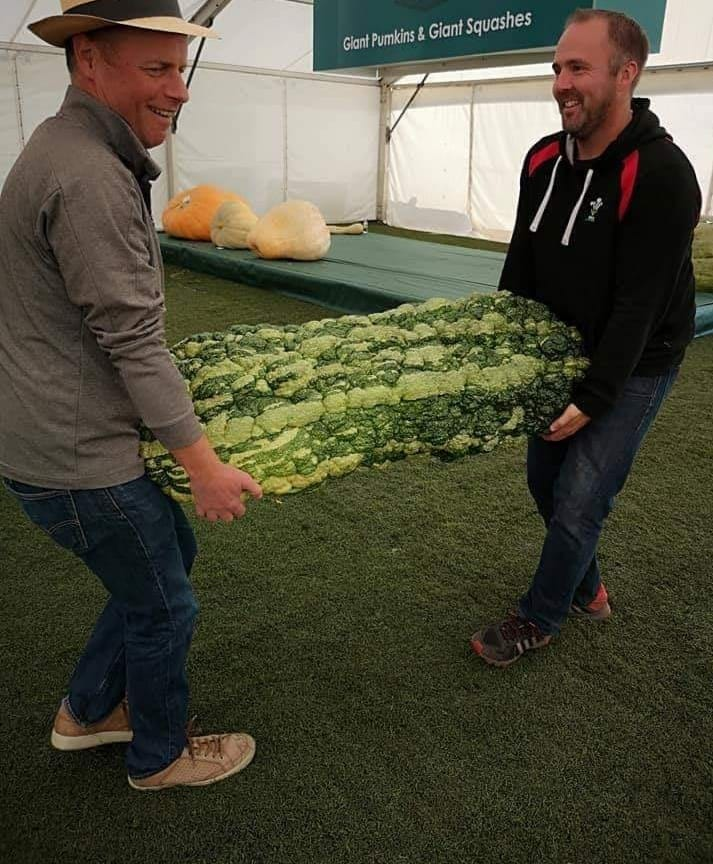
Harvesting the Marrow
If you are close to show day, the marrow can split at any time if there is a sudden deluge of rain. If you do not want this to happen, you can cut a few days prior to the show as the marrow will store.
If you are confident that it will not split, harvest on the day of the contest and we wish you all the best in your marrow endeavours If you would like more information, visit us at our Facebook Page, where you are welcome to share your growing attempts and ask away with the questions